How to Improve Your Putting by Practicing with a Chalk Line
Dave Cahill here today at the Loggers Trail Golf Course in Stillwater, MN. I will talk about how to practice putting using a chalk. A chalk line can help with seeing the line to the hole correctly. It will help you see the line the putter is taking during the putting stroke. The line can teach you to be steady. You will know if you are pushing, pulling or doing something to miss the putt. And you will get valuable feedback right away.
I have drawn two lines on the putting green by snapping the chalk line. The first line goes straight to the hole, the other is parallel left (right handed golfers). The second line is the line where the feet are placed. Note: The chalk lines will appear crisp and clear in person, on camera they appear a bit fuzzy.
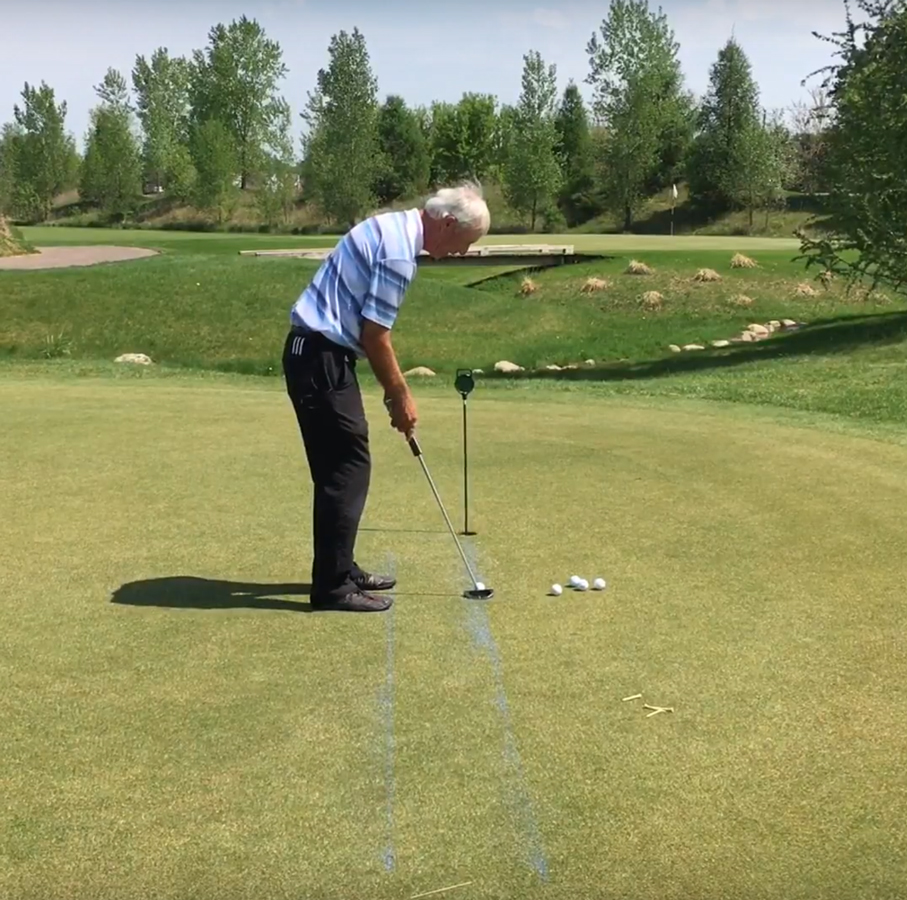
After you have put down your chalk line. Start putting about four feet out from the hole. Putt about five times then move three feet down the chalk line and putt five more putts. Continue moving farther down the line, putt five to six balls every three feet. Move as far from the hole as your chalk line. Once you have finished the drill set up in another location and begin again: This time without a chalk line. Go back and forth using the chalk line for a set and then practice the putting drill in a different location on the green without the use of a chalk line. This practice drill is best when performed at least once a week. The drill will help you see and putt more accurately.
Setting Up a Putting Chalk Line
I am going to show you how to set up your chalk line for making more putts. This is a companion video to the Make More Putts by Practicing with a Chalk Line video. The procedure is as follows. Find level ground, or uphill ground where the putt will not break. Check by putting to see if the putt will move straight down the line toward the hole. Once you have established that there is no break, you can put down your chalk line. Use a tee to hold the end of the chalk line. Go to the hole. Find the middle. Place the tee in front of the hole in the middle position. Run the chalk line straight back. Then snap the chalk line a couple of times. The chalk line will appear crisp and clear in person, on camera they appear a bit fuzzy. We will place a second line, the foot or stance line, about 8 inches to 12 inches from the first. I use my putter to measure. Place a tee at that location. Use the putter to measure the same distance at the other end. Place a tee at that location. Use the first tee to hold the chalk line. Stretch it to the second tee and then go ahead and snap the line. You will have two parallel lines. The first line is your eye line, the line on which the ball travels to the hole. The other line is the foot or stance line. Now you are ready to start practicing putting. See the video above: How to Improve Your Putting by Practicing with a Chalk Line.
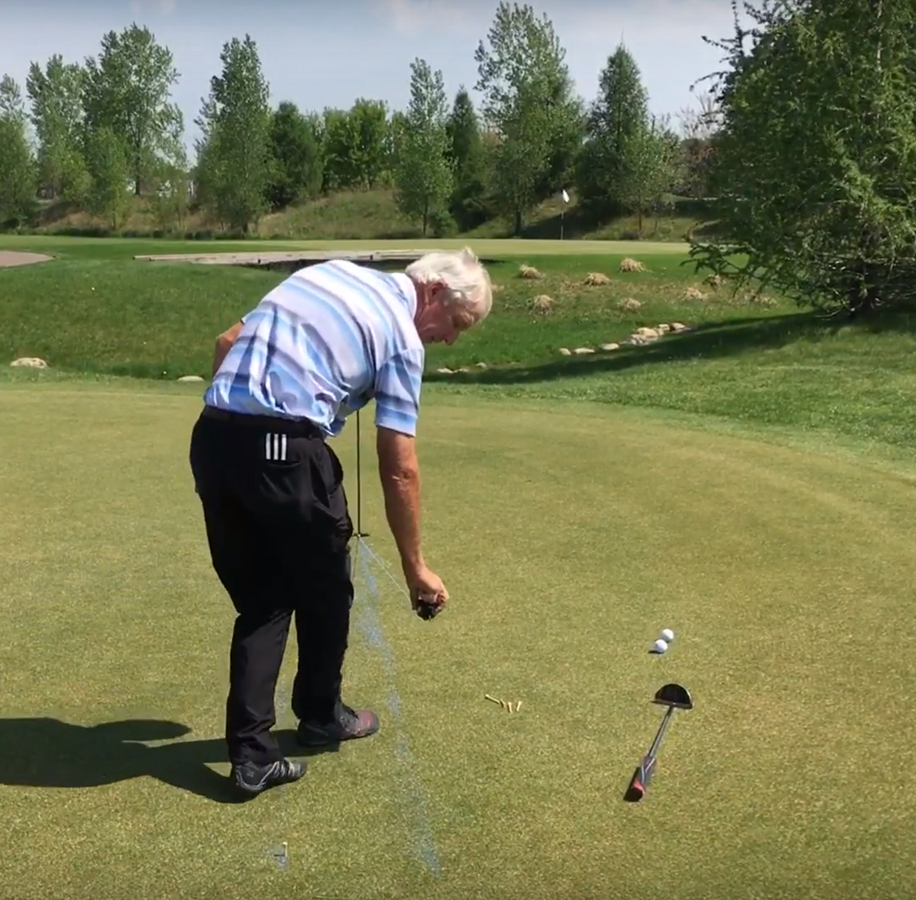
Note: Chalk lines can be purchased at home improvement or hardware stores. There are assorted colors of chalk available. I use standard blue chalk on the putting green as it disappears quickly, white is also available. Do not use a chalk labeled permanent chalk. Stretch the chalk line string taut. A tee can be used to secure one end while you use the thumb to hold the opposite end. Lift and snap the string on one side and then the other. Ask the golf shop staff if it’s ok to use a chalk line on the green for practice. I’ve never run into an objection to using the chalk line. The chalk will disappear as soon as the green is watered if not before from foot traffic.
PGA Instructor Mike Cahill and PGA Master Instructor Dave Cahill are here to help you play better and enjoy the game more. Please come see us in Palm Springs CA or Stillwater MN for golf lessons or visit us for a Palm Springs, CA or Las Vegas, NV Golf School. Cahillgolf.com
PGA Instructor Mike Cahill 612-501-9015 mikecahill@cahillgolf.com
PGA Master Instructor Dave Cahill 952-994-0387 davecahill@cahillgolf.com